
Complete Walkthrough for Overthewire Bandit
Easy-to-follow explanations for every Overthewire Bandit wargame level

Search for a command to run...
Easy-to-follow explanations for every Overthewire Bandit wargame level
No comments yet. Be the first to comment.
I had the privilege to contribute challenges for the latest edition of Baby PWN, organized as part of Tech Parva 2026. I had a lot of fun building these challenges, and I hope working through them helps you pick up something useful along the way. Let...

As part of Techparva 3.0, the Innovative Computer Engineering Students’ Society (i-CES) of WRC, Pokhara, hosted an exciting BabyPWN Capture The Flag (CTF) competition. I had the incredible opportunity to design a few challenges for this event. In thi...

Level 0 - Level 1: Looking at the source of the page, it has the password for the next level. 🔒 g9D9cREhslqBKtcA2uocGHPfMZVzeFK6 Level 1 - Level 2: The level was blocking right click but not the keyboard shortcut. Viewing the html gives the...
In a world where our online conversations are an integral part of our lives, the need for privacy and security in messaging apps has become more critical than ever. End-to-end encryption is a fundamental technology that ensures our messages remain pr...

bandit0 userssh bandit0@bandit.labs.overthewire.org -p 2220
🔒 bandit0
The home folder for the user bandit0 has a readme file.
Reading the file contents with cat command gives the password.
cat readme
🔒 NH2SXQwcBdpmTEzi3bvBHMM9H66vVXjL
The user has file named - but when tried to read with cat - it shows nothing.
This is because - has a special meaning in Linux
So reading it giving a path from the current location.
cat ./-
🔒 rRGizSaX8Mk1RTb1CNQoXTcYZWU6lgzi
The file name in this case contains spaces.
Reading the file normally will result in error because Linux will treat them as separate files when spaces is present so need to escape them.
cat spaces\ in\ this\ filename
🔒 aBZ0W5EmUfAf7kHTQeOwd8bauFJ2lAiG
The file is inside inhere folder and the file is hidden.
The file name can be viewed by running ls -al inhere command.
Now view the file.
cat inhere/.hidden
🔒 2EW7BBsr6aMMoJ2HjW067dm8EgX26xNe
The inhere has many file but the password is in the human readable file
Using file command can give us the type of file and its information
file ./*
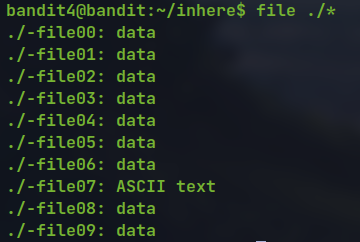
cat ./-file07
🔒 lrIWWI6bB37kxfiCQZqUdOIYfr6eEeqR
There are many folders and inside them many file where finding manually is not a viable option
So using the find command to find the file described in the specification.
find -type f -size 1033c
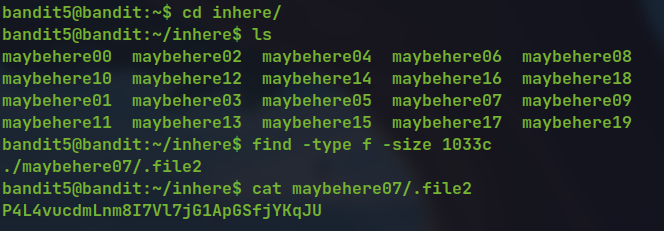
cat maybehere07/.file2
🔒 P4L4vucdmLnm8I7Vl7jG1ApGSfjYKqJU
This time the file can be anywhere in the system
Using find command to get the specific file and using 2>/dev/null will not print the error in the terminal.
find . -size 33c -user bandit7 -group bandit6 2>/dev/null
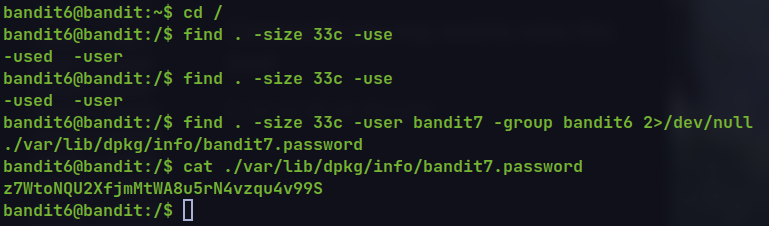
🔒 z7WtoNQU2XfjmMtWA8u5rN4vzqu4v99S
The password is in the very large file next to the word millionth
Using grep to get the line with the matching word.
cat data.txt | grep millionth
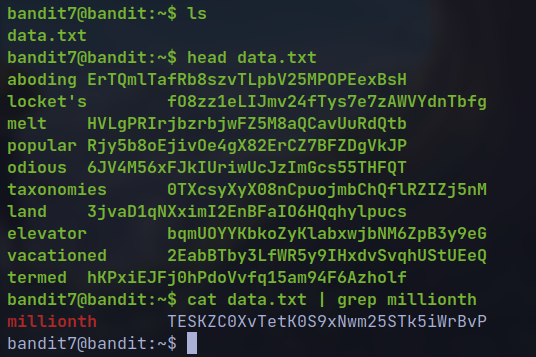
🔒 TESKZC0XvTetK0S9xNwm25STk5iWrBvP
The password is the unique text in a large file.
We can use sort tool to sort the entire file in combination with uniq tool which removes the consecutive duplicate line
cat data.txt | sort | uniq -c
cat data.txt | sort | uniq -c | grep "1 "
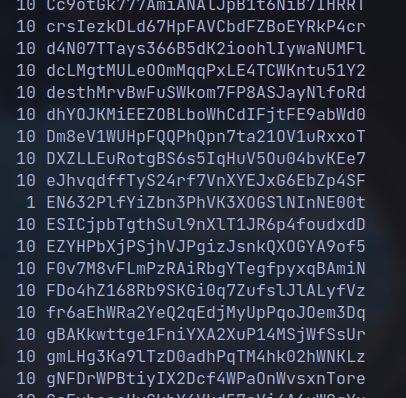
🔒 EN632PlfYiZbn3PhVK3XOGSlNInNE00t
The human readable strings can be extracted from a non-text file using the strings command.
We can then use grep to find the line with ==== characters.
strings data.txt | grep "======"
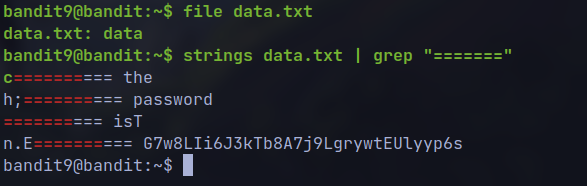
🔒 G7w8LIi6J3kTb8A7j9LgrywtEUlyyp6s
data.txt file but is encoded with Base64 encoding.cat data.txt | base64 -d
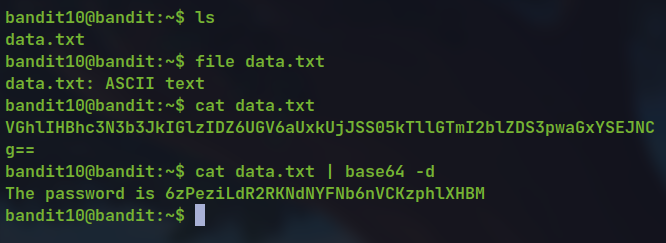
🔒 6zPeziLdR2RKNdNYFNb6nVCKzphlXHBM
data.txt file but the password is rotated by 13 position known as ROT13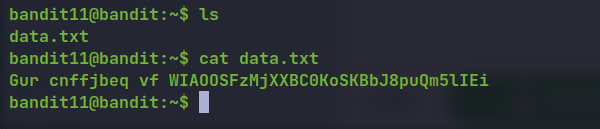
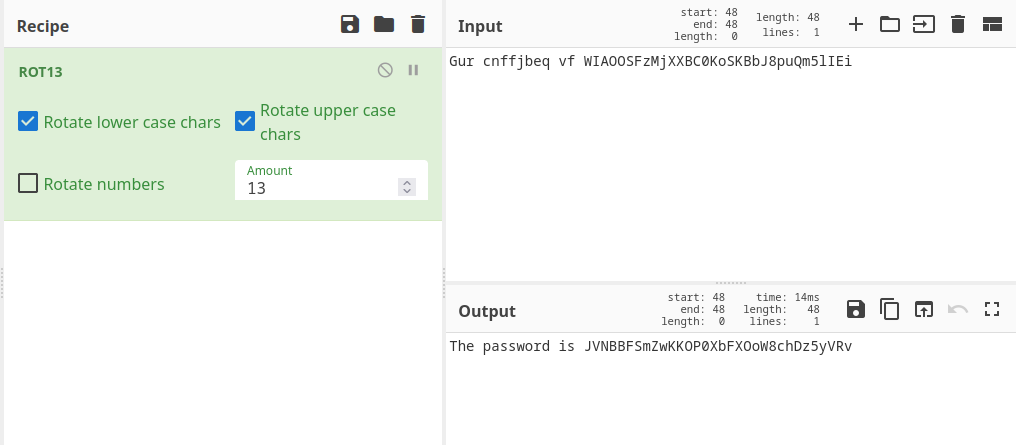
🔒 JVNBBFSmZwKKOP0XbFXOoW8chDz5yVRv
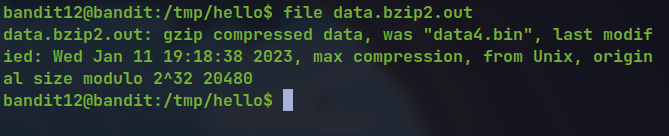
hexdump of a compressed filexxd -r data.txt > data
file data

.gz and extracting with gzip gives the result as data .mv data data.gz
gzip -d data.gz
file dataNow renaming and using the bzip2 tool.
mv data data.bz2
bzip2 -d data.bz2
mv data.bz2.out data.gz
gzip -d data.gz
file data

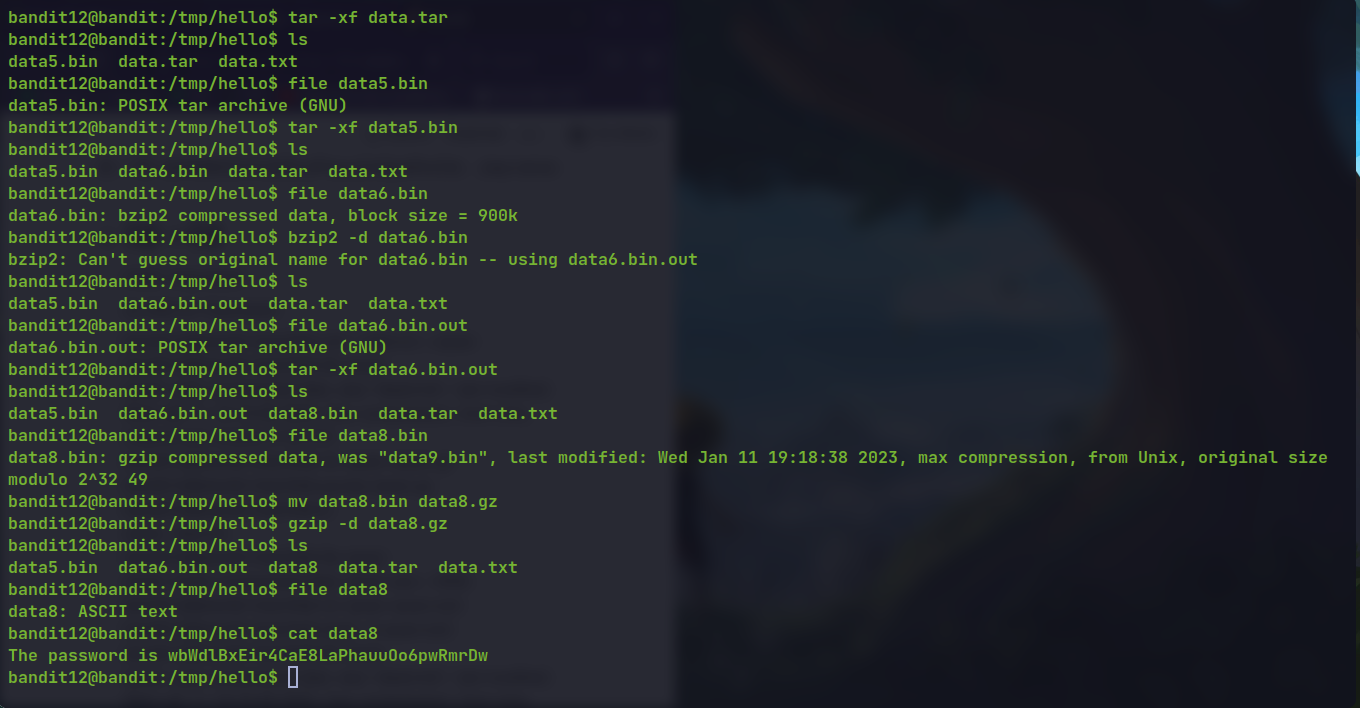
🔒 wbWdlBxEir4CaE8LaPhauuOo6pwRmrDw
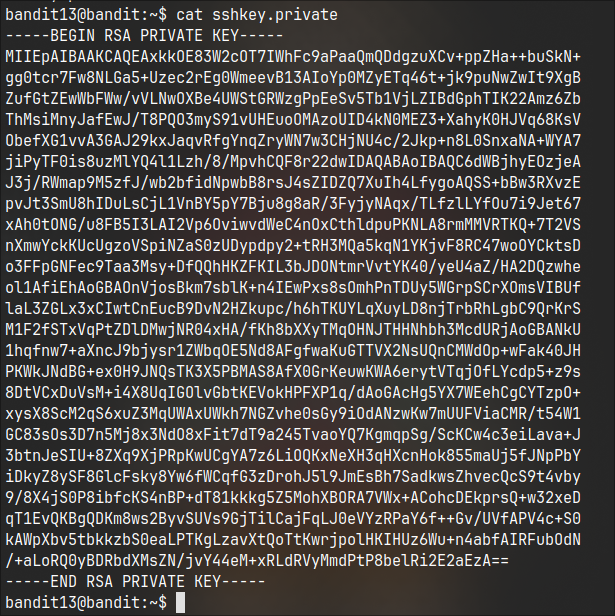
The password is stored in /etc/bandit_pass/bandit14 and is only readable by bandit14 user.
First ssh as bandit14 user and read the password file
ssh bandit14@localhost -i sshkey.private -p 2220
cat /etc/bandit_pass/bandit14
🔒 fGrHPx402xGC7U7rXKDaxiWFTOiF0ENq
netcatnc localhost 30000
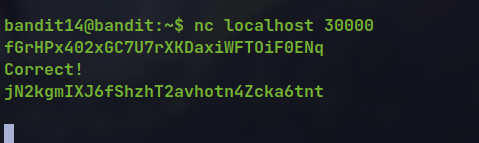
🔒 jN2kgmIXJ6fShzhT2avhotn4Zcka6tnt
openssl or ncatopenssl s_client -connect localhost:30001
ncat --ssl localhost 30001
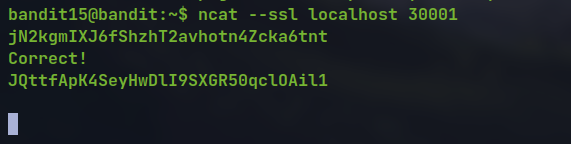
🔒 JQttfApK4SeyHwDlI9SXGR50qclOAil1
nmap can be usednmap -sC -sV -p 31000-32000 localhost
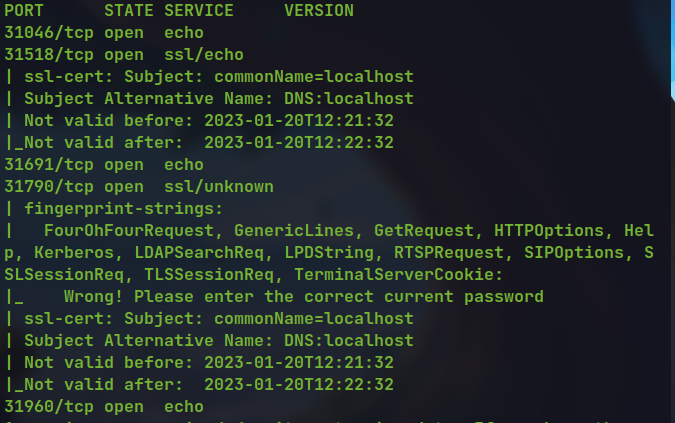
The service for port 31790 is not echo so it is the valid one.
Sending the request and password to the service gives the ssh private key instead of password.
ncat --ssl localhost 31790
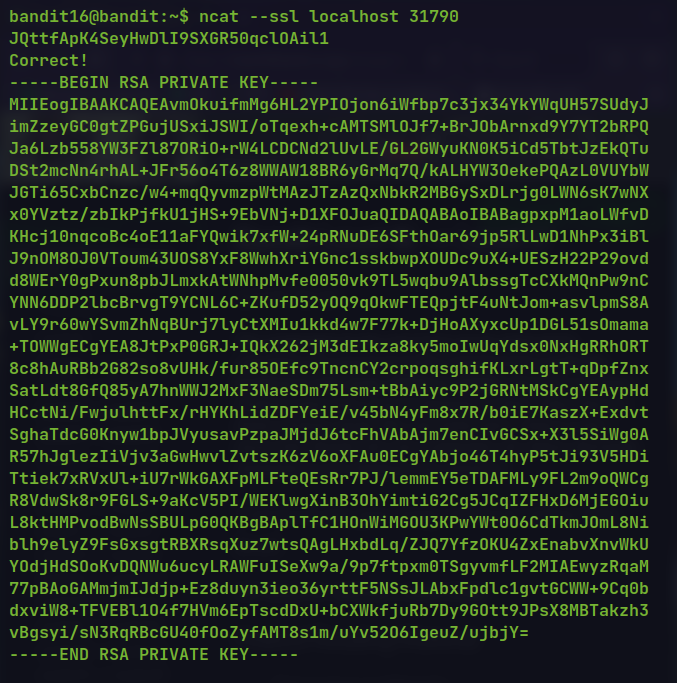
Save the private key to a file /tmp/sd/private
change the permission to 600
chmod 600 private
ssh bandit17@localhost -i private -p 2220
There are two files password.new and password.old and the password is the only line changed between the two files.
Here, we can use the diff tool which is used to see differences between two files.
diff password.new password.old
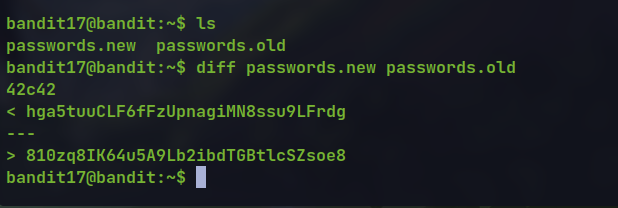
🔒 hga5tuuCLF6fFzUpnagiMN8ssu9LFrdg
We get logged out as soon as we logged in due to some commands in .bashrc
We can send commands to run after ssh to read the readme file before the session exit.
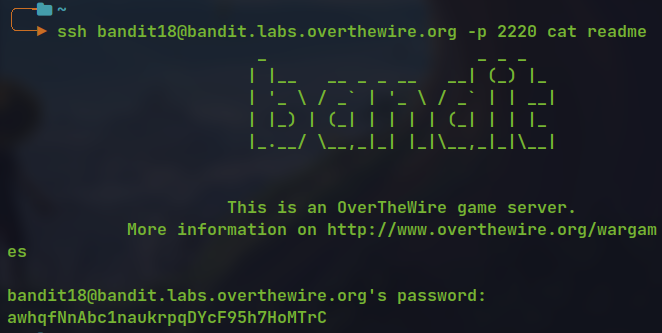
.bashrc file .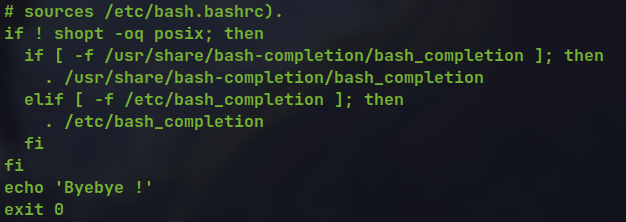
🔒 awhqfNnAbc1naukrpqDYcF95h7HoMTrC
There is a executable file named bandit20-do which is a setuid binary.
This means the binary can be run with the privilege of the other user bandit20
We can use this to read the contents of the password file for the bandit20 user.
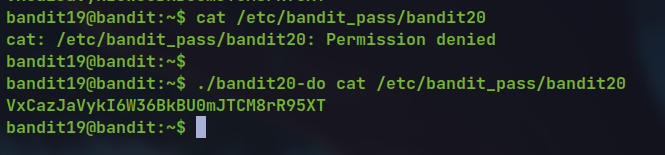
./bandit20-do cat /etc/bandit_pass/bandit20
🔒 VxCazJaVykI6W36BkBU0mJTCM8rR95XT
suconnect binary connects to localhost at the specified port given as argument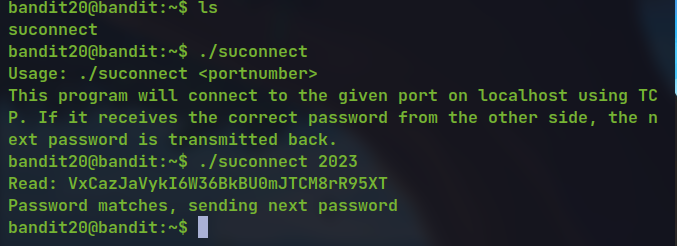
We log in with two session, listen to localhost at 2023
run suconnect binary with 2023 as port
provide the previous password from the listening session which sends it to suconect, which checks the password and returns the password for next level if correct.
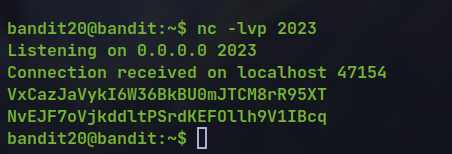
nc -lvp 2023
🔒 NvEJF7oVjkddltPSrdKEFOllh9V1IBcq
The /etc/cron.d directory has a Cronjobfile for the bandit22 user.
Looking at the contents it is running the /usr/bin/cronjob_bandit22.sh script continuously.
The scripts is echoing the password of the bandit22 user into a file in /tmp directory.
Reading the file gives us the password.
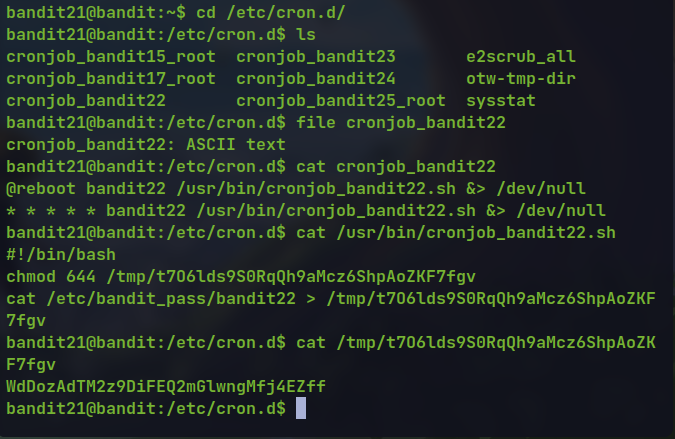
🔒 WdDozAdTM2z9DiFEQ2mGlwngMfj4EZff

I am user $myname#!/bin/bash
myname=$(whoami)
mytarget=$(echo I am user $myname | md5sum | cut -d ' ' -f 1)
echo "Copying passwordfile /etc/bandit_pass/$myname to /tmp/$mytarget"
cat /etc/bandit_pass/$myname > /tmp/$mytarget
Since the user we want the password for is bandit23.

Now reading the file with name as the md5 hash

🔒 QYw0Y2aiA672PsMmh9puTQuhoz8SyR2G
bandit24 user we see it executes and deletes the scripts present in the /var/spool/bandit24/foo directory#!/bin/bash
myname=$(whoami)
cd /var/spool/$myname/foo
echo "Executing and deleting all scripts in /var/spool/$myname/foo:"
for i in * .*;
do
if [ "$i" != "." -a "$i" != ".." ];
then
echo "Handling $i"
owner="$(stat --format "%U" ./$i)"
if [ "${owner}" = "bandit23" ]; then
timeout -s 9 60 ./$i
fi
rm -f ./$i
fi
done
We need to create a script at the location and make it executable to all users.
the script will be executed with the privilege of the bandit24 user and we can read the password stored in /etc/bandit_pass/bandit24
#!/bin/bash

cat /etc/bandit_pass/bandit24 > /tmp/pwned
cat /tmp/pwned

🔒 VAfGXJ1PBSsPSnvsjI8p759leLZ9GGar
For this we need to call daemon at localhost at port 30002 with password of previous level and secret 4 digit pin
First we generate the password and pin combination and brute force it to the service
#!/bin/bash

for i in {0..9}
do
  for j in {0..9}
  do
    for k in {0..9}
        do
             for l in {0..9}
             do
                echo  "VAfGXJ1PBSsPSnvsjI8p759leLZ9GGar $i$j$k$l" >> pin.txt
             done
        done
    done
done
for i in {0000..9999};do echo$i >> pin.txt ; done
cat pin.txt | nc localhost 30002 > response

🔒 p7TaowMYrmu23Ol8hiZh9UvD0O9hpx8d
when logged in we get the private RSA key of user 26
but the default shell is not bash or anything
it is /usr/bin/showtext
#!/bin/sh

export TERM=linux

exec more ~/text.txt
exit 0
Looking at the man page of the more command we figure we can go into vim while reading in more mode by pressing the V key .
We then make our terminal so small that it automatically goes to more when showing the text in *text.txt* file.
we then read file in vim by going to normal mode and entering the following command.
:r /etc/bandit_pass/bandit26
We can also run shell commands or get shell from vim
But for that we have to set the shell to bash as it has a different shell by default
:set shell=/bin/bash
:! cat /etc/bandit_pass/bandit26
:! /bin/bash
🔒 c7GvcKlw9mC7aUQaPx7nwFstuAIBw1o1
bandit27 user which takes command as argument../bandit27-do cat /etc/bandit_pass/bandit27
🔒 YnQpBuifNMas1hcUFk70ZmqkhUU2EuaS
We first clone the repository in /tmp directory
note that the port should be 2220
git clone ssh://bandit27-git@localhost:2220/home/bandit27-git/repo
README file in the repository which has the password.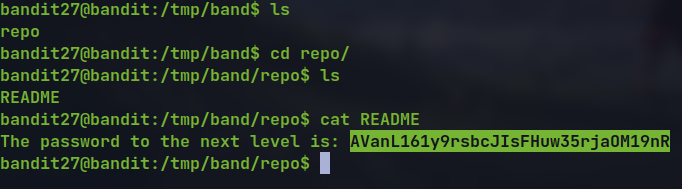
🔒 AVanL161y9rsbcJIsFHuw35rjaOM19nR
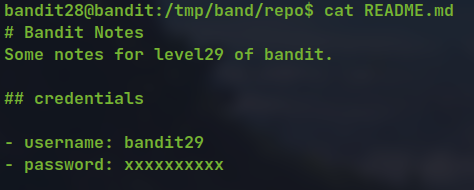
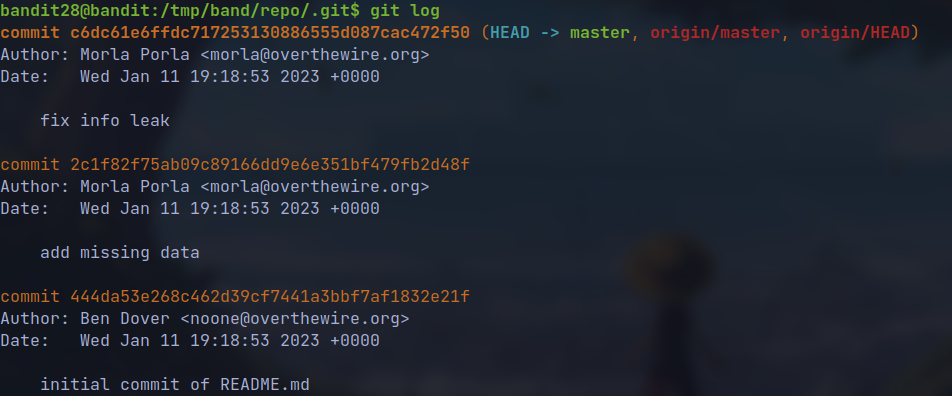
Readme file again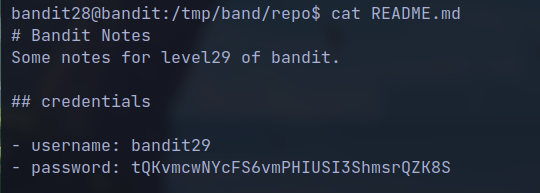
🔒 tQKvmcwNYcFS6vmPHIUSI3ShmsrQZK8S
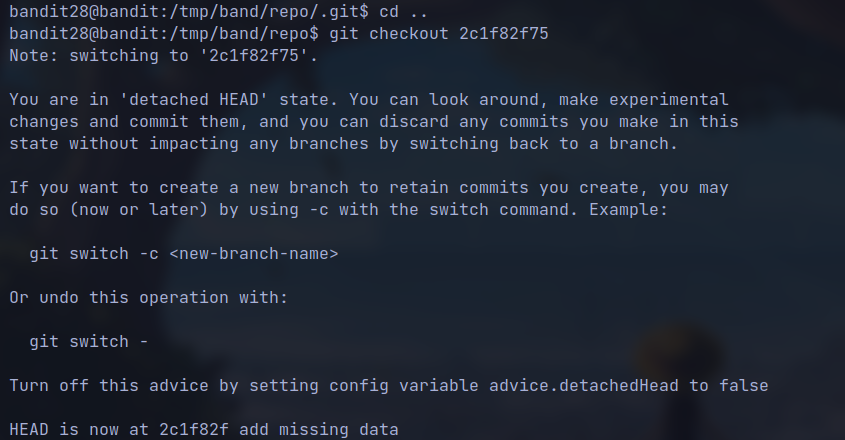
readme file shows no password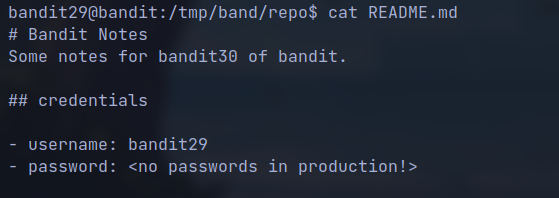
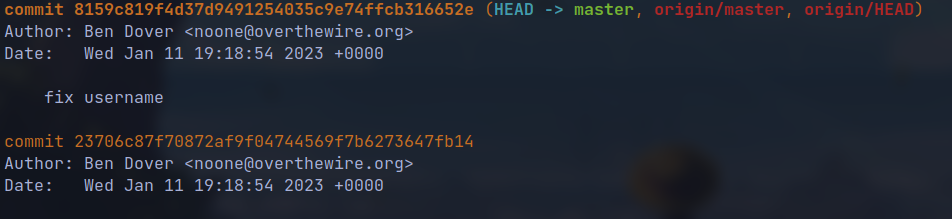

readme, it gives hint as not in the productiongit checkout dev
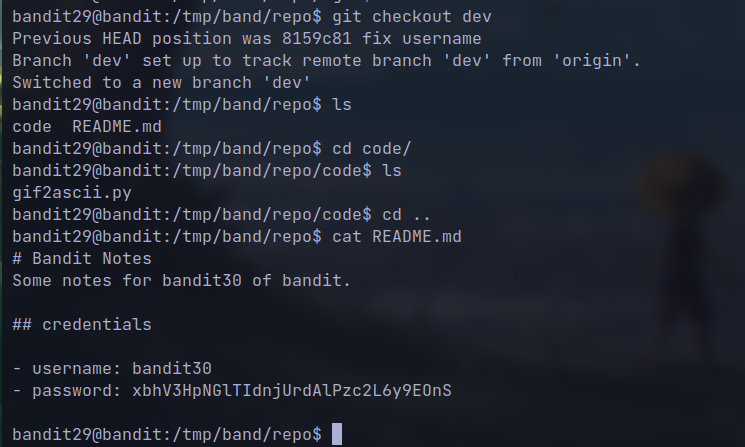
🔒 xbhV3HpNGlTIdnjUrdAlPzc2L6y9EOnS
We do not find anything repeating the previous challenges
But when we view tags it shows a file named secret
git tag
git show secret
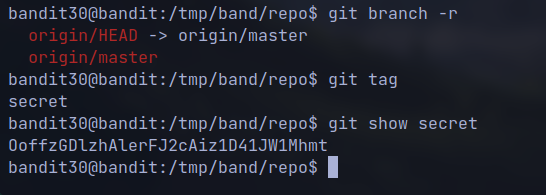
🔒 OoffzGDlzhAlerFJ2cAiz1D41JW1Mhmt
README file we know the task to be performed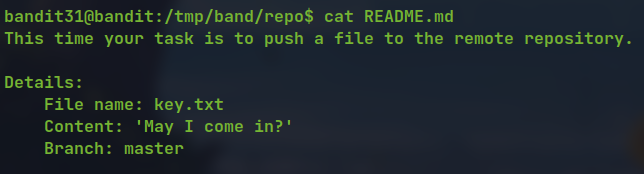
creating the file with the content
removing the file from the .gitignore and push them to remote repository we get the flag.
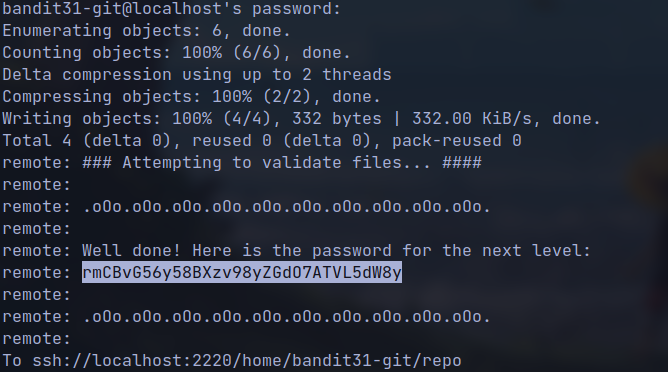
🔒 rmCBvG56y58BXzv98yZGdO7ATVL5dW8y
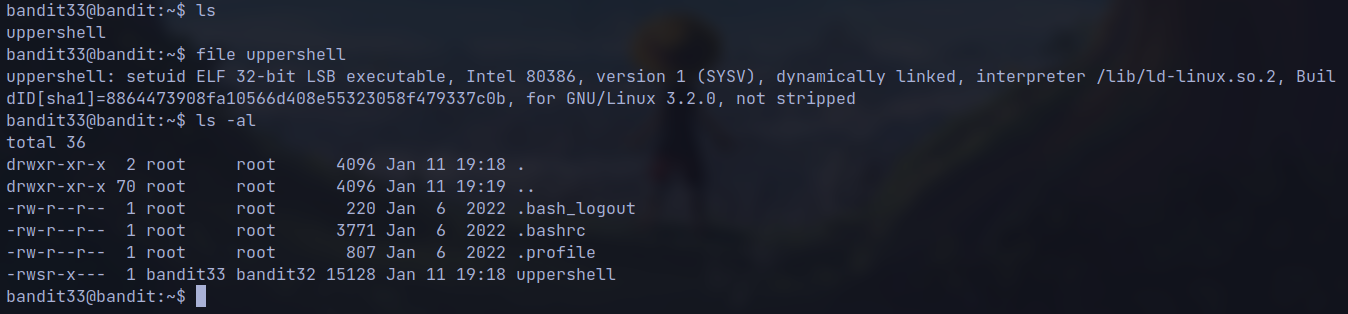
Upon ssh we get a shell where every command is converted to upper shell and then executed
However environment variables like SHELL are accessible as they are in upper case.
we execute $0 which represent the command which runs the program or binary.
Eg. /bin/bash uppershell $0 represents /bin/bash and $1 represent uppershell which is the argument.
We get the shell of bandit33
on inspection we can see that uppershell is a binary with suid set to bandit33 and group bandit32 has the executable permission.
From this we might guess, upon login through ssh /bin/bash uppershell command was executed.